You have a few options for nightcap patterns. There is a lovely pattern available from Extreme Patterns for sale through a number of retailers that I highly recommend, especially if you intent to embroider your own cap. The information that comes with the pattern is very helpful and easy to use, and the embroidery patterns are very well done. If you don’t intend to embroider your cap, drafting your own pattern is fairly easy with a little trial and error, but I will not be detailing how for this explanation.
I am a very visual person, so the most difficult portion of the pattern to understand, for me, was which section needed to be which fabric (if you are not lining your cap, you can skip this explanation). To make it easier to follow, I made a graphic (Note: this graphic has been simplified for explanation purposes and is not scaled correctly. It should be repeated vertically for a total of four points on each side):

When you cut out your cap, the fabrics should be as follows (my fabrics are in parenthesis):
- dark blue = outside crown fabric (embroidered cotton)
- green = unseen fabric (cotton broadcloth)
- light blue = brim fabric (embroidered cotton)
- yellow = lining fabric (fleece)
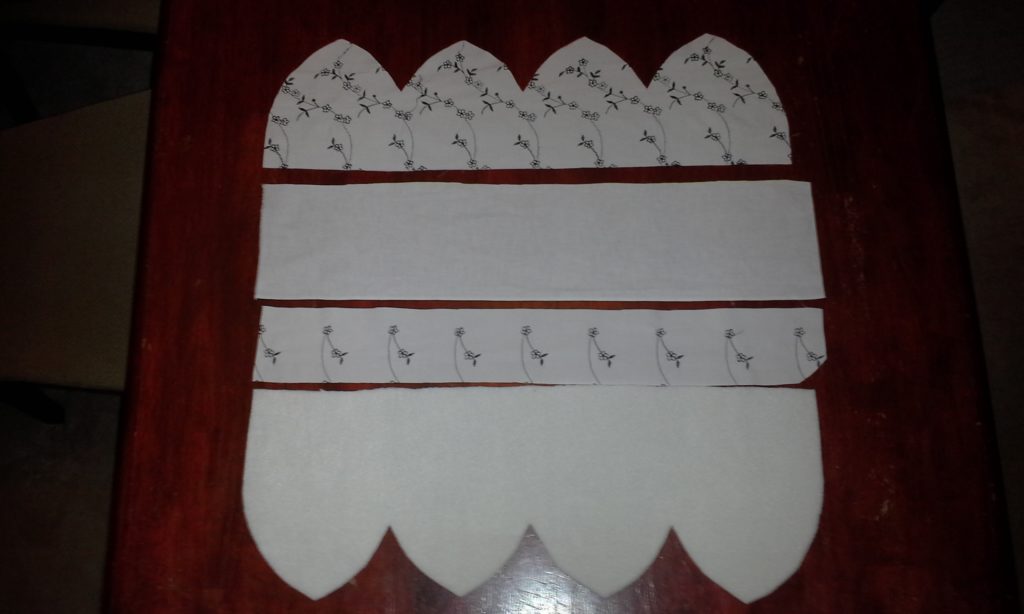
the pattern pieces cut out
If you are making an unlined linen cap, you only to cut out the dark blue and green portions, all from the same material. To add embroidery, draw the design on the right side of the dark blue and the wrong side of the bottom/far right side half of the green. By drawing the design on the wrong side of the green, it will be on the correct side when the brim is turned up. (Note: if you are embroidering the cap, draw the pattern on the fabric, including the embroidery, and complete the embroidery before you cut out the cap. This will help to keep the fabric from warping as you embroider and the edges from fraying.)
If you are making the cap out of a fabric that has a right and wrong side, such as velvet, you will have to line the brim so that the correct side is on the outside when the brim is turned up. You can do this in three ways:
- Cut out the dark blue and green from the fabric and spilt it in half somewhere in the upper/left green section. Flip over the bottom green section and stitch it back on. Finish assembly as if it were an unlined cap (the explanation will be in the next post).
- Cut the cap out as one piece, from the dark blue to the light blue. The light blue area will be folded back behind the green so that the right side is out when the brim is turned up.
- Cut out the dark blue from the outside fabric, the green from an unseen fabric and the light blue from the outside fabric. The cap will be assembled like my cap (the explanation will be in the next post).
Next week, we’ll put it all together!